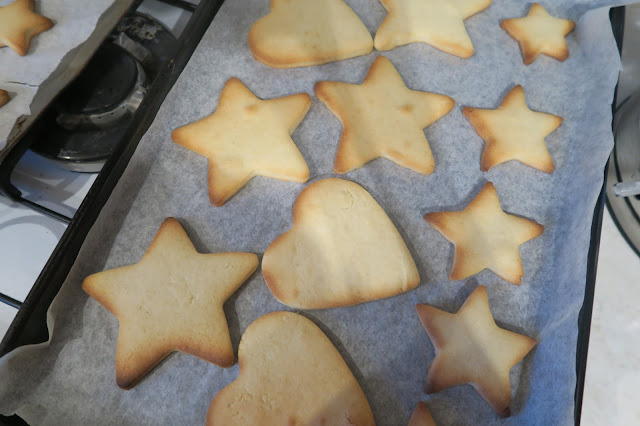
You've all had them once your life, and they all probably bring back many different memories. For me, it's eating them at primary school. These crunchy, iced biscuits were always a popular one when placed as a dessert on the dinnertime menu. I am however going to jazz them up a little bit by making them Christmassy! Here's how:
Ingredients
100g Unsalted butter (softened)
100g Caster sugar
1 free-range egg, beaten lightly
1 tsp vanilla extract
275g plain flour
400g icing sugar
Sprinkles and food colourings of your choosing (I found my cute sprinkles at Morrisons)
1. Pre-heat oven to 190 degrees (170 fan) and line a baking tray with greaseproof baking paper.
2. Using your beating attachment (or a wooden spoon if you are extra strong!), beat the sugar and butter until light and fluffy.
3. Beat in the egg and vanilla extract gradually.
4. Stir in flour until it looks something like dough.
5. Tip what may look like a dough onto a floured surfaced, and shape into a ball.
6. Roll your dough out until 1cm thick roughly, and cut out your biscuits with the cutters of your choice! I chose some star cutters which I found at Lakeland recently. A pack of 5 cutters for about £3.99, although I just checked on their website, and it looks like they are on sale! I also chose a heart cutter which was gifted to me recently when I got married :) That one is £4 by Eddingtons, available at John Lewis.
7. Bake the biscuits in the oven for 8 minutes roughly, until golden brown. Do not burn the edges like I did! I'm still not used to my oven, honestly! Leave to harden for 5 minutes before cooling on a rack.
8. Now for the fun part, the icing! Sift the icing sugar into a bowl and add enough water (about 5 tbsp) to get to a thick, pipe-able consistency. Divide into separate bowls if you wish to colour, in which case you should only add a few drops and mix in with a spoon.
9. Spoon the icing into a piping bag and snip off the end. Pipe around the edges first and then fill in by drawing lines. To be honest, I'm not that happy with how my icing turned out! I could say that I wasn't really feeling well when doing these (full of a cold!) but I think it's just that I can't ice that well! Not one of my fortes! Oh well, I enjoyed it, and it certainly brought back memories! Hope you enjoy too!


No comments
Post a Comment